The first thing you need to do is set up your free account on Google Analytics.
You will be prompted to sign in with your Gmail account. Once you’ve done that, you will enter the system.
Choose the button that initiates the measurement.

The next screen will prompt you to create an account name. You can track more than one website under a single account, so you may want to use something broad, like your business name.

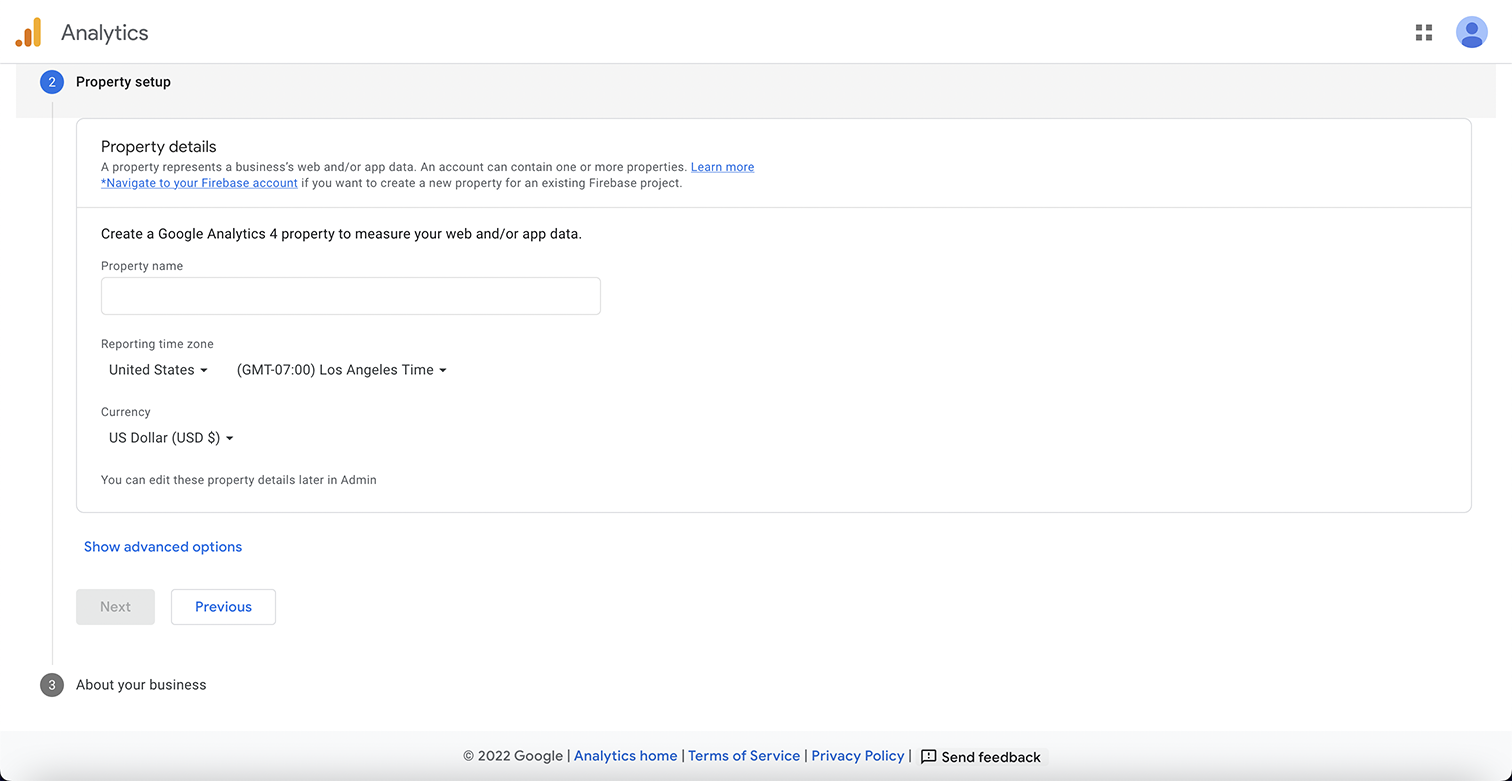
Next, you’ll want to set up your properties. This should include your website’s name, time zone, and the currency used for your business location.
The following screen will request information about your business and how you intend to use Google Analytics.
Click on the agreement terms and select email notifications, and you will be taken to the admin dashboard.
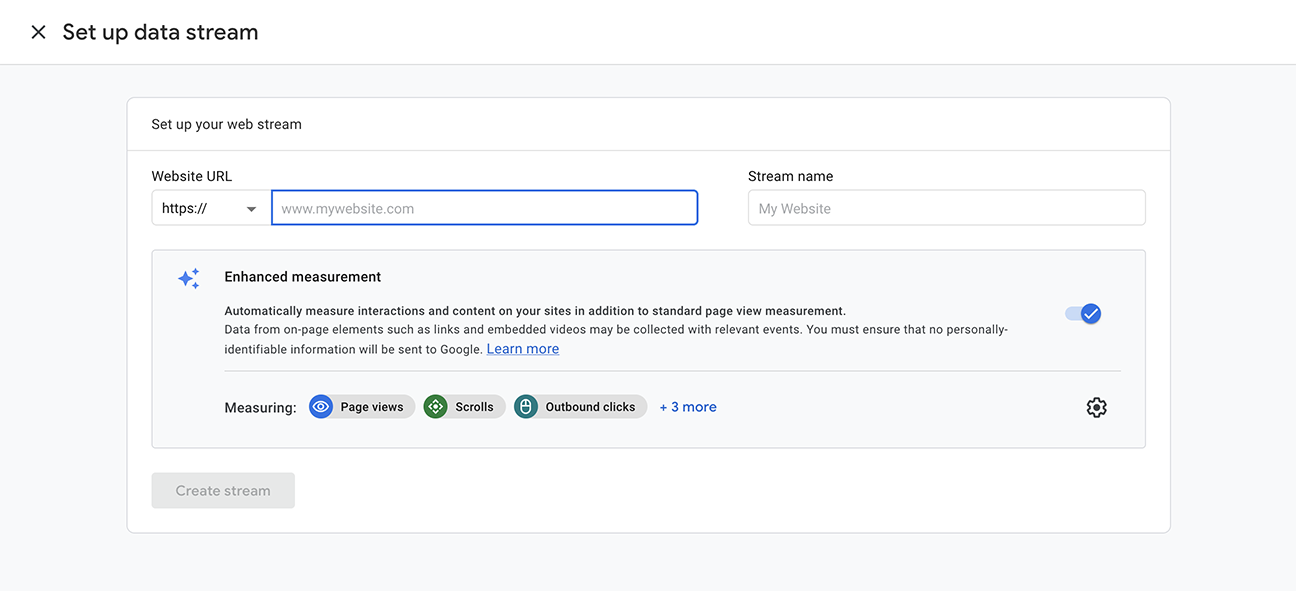
Afterward, you’ll be able to set up the data stream.
When adding Google Analytics to a WordPress site, select “web stream.”
Then, you’ll add the URL of your site and the site name.
Once you click the “Create stream” button, you will see the stream name, stream URL, stream ID, and measurement ID.
The measurement ID is the code you’ll use to add to your website.
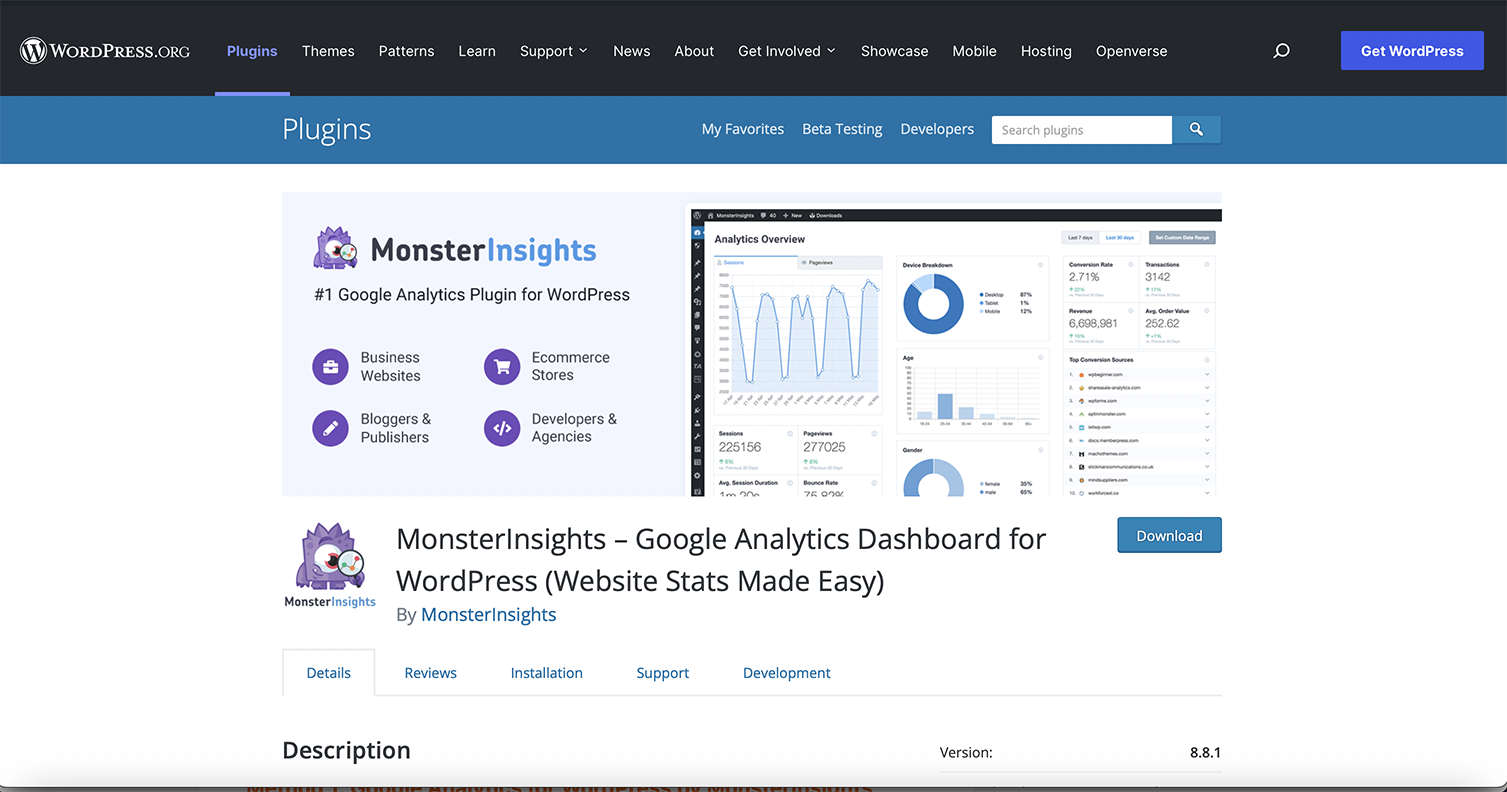
The easiest way to add the Google Analytics tag code to WordPress is with a plugin.
Google Analytics for WordPress by MonsterInsights is the most popular and makes it easy to add your Google Analytics code to your site.
The free version should work perfectly unless you want advanced tracking and reporting features. Then you would want to upgrade to the pro version (paid).
- Step 1: Install and activate the MonsterInsights plugin.
- Step 2: Launch the setup wizard to fill in your website information and click the Connect MonsterInsights button. This will guide you through several setting pages that need to be preselected for your configuration.
- Step 3: Next, you’ll be prompted to log in to your Gmail account, requesting permission to access your Google account.
- Step 4: Click Allow, and then the Google Analytics account it will connect to will be displayed.
- Step 5: Press Complete Connection to link to your Google Analytics account. It will finish by offering an upgrade to the Pro version, but you can choose the link at the bottom to complete the installation without an upgrade.
Now you’re all set, and you’ll see Insights in the WordPress dashboard. Reports, settings, and all other selected tools will now be visible in your WordPress dashboard.
The second way to install your Google Analytics tracker is with a header/footer script plugin.
This method is especially useful if you want to track different metrics on different pages, as it can be applied to specific pages and/or the entire website.
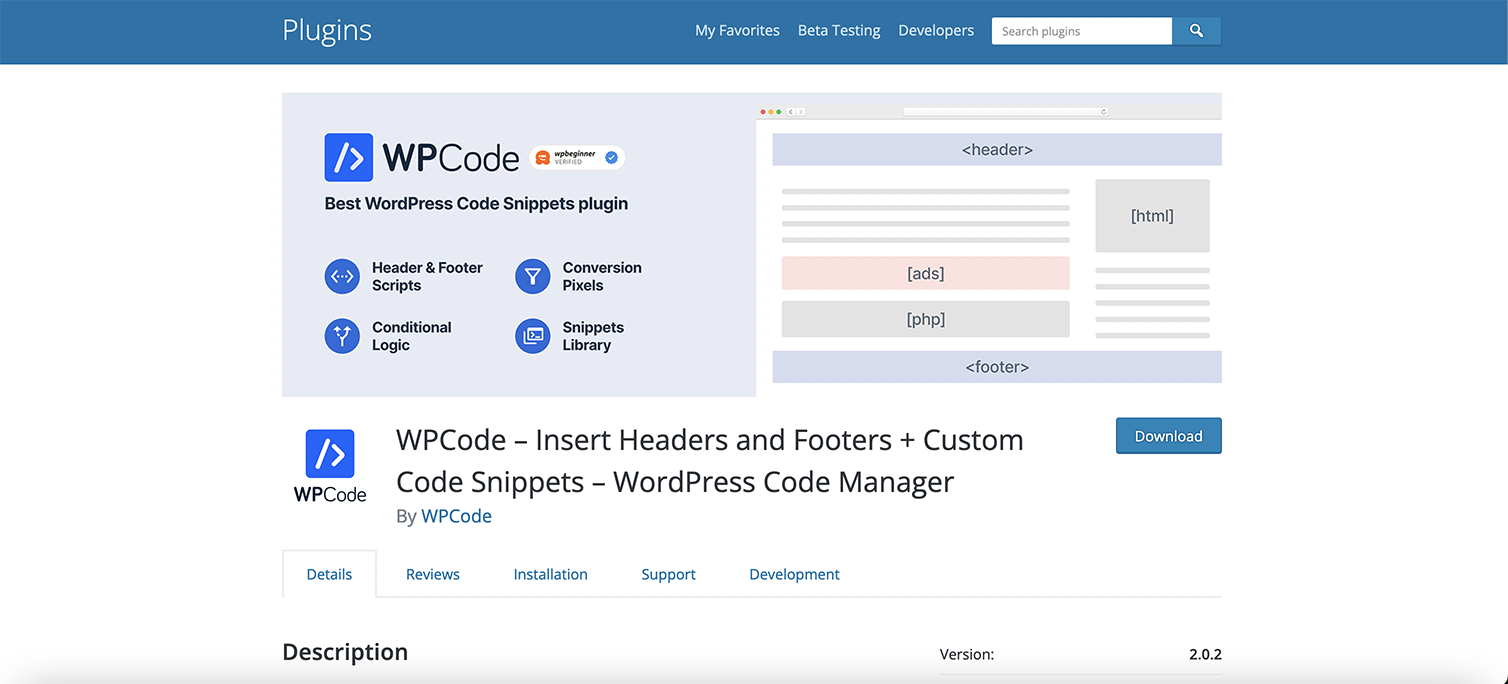
WPCode Header and Footer Code + Custom Code Fragments – WordPress Code Manager is the most popular plugin for inserting header and footer code with over 1 million users. Another way to add Google Analytics to WordPress.
- Step 1: Install the header and footer script plugin on your WordPress site.
- Step 2: In your Google Analytics account, click on Tracking Instructions, and then select the Manual Installation section.
- Step 3: Copy the Google Tag code.
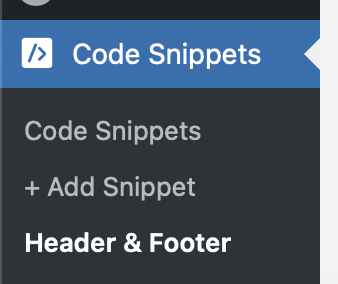
- Step 4: In your WordPress dashboard, you’ll find the Code Snippets plugin in the left navigation menu.
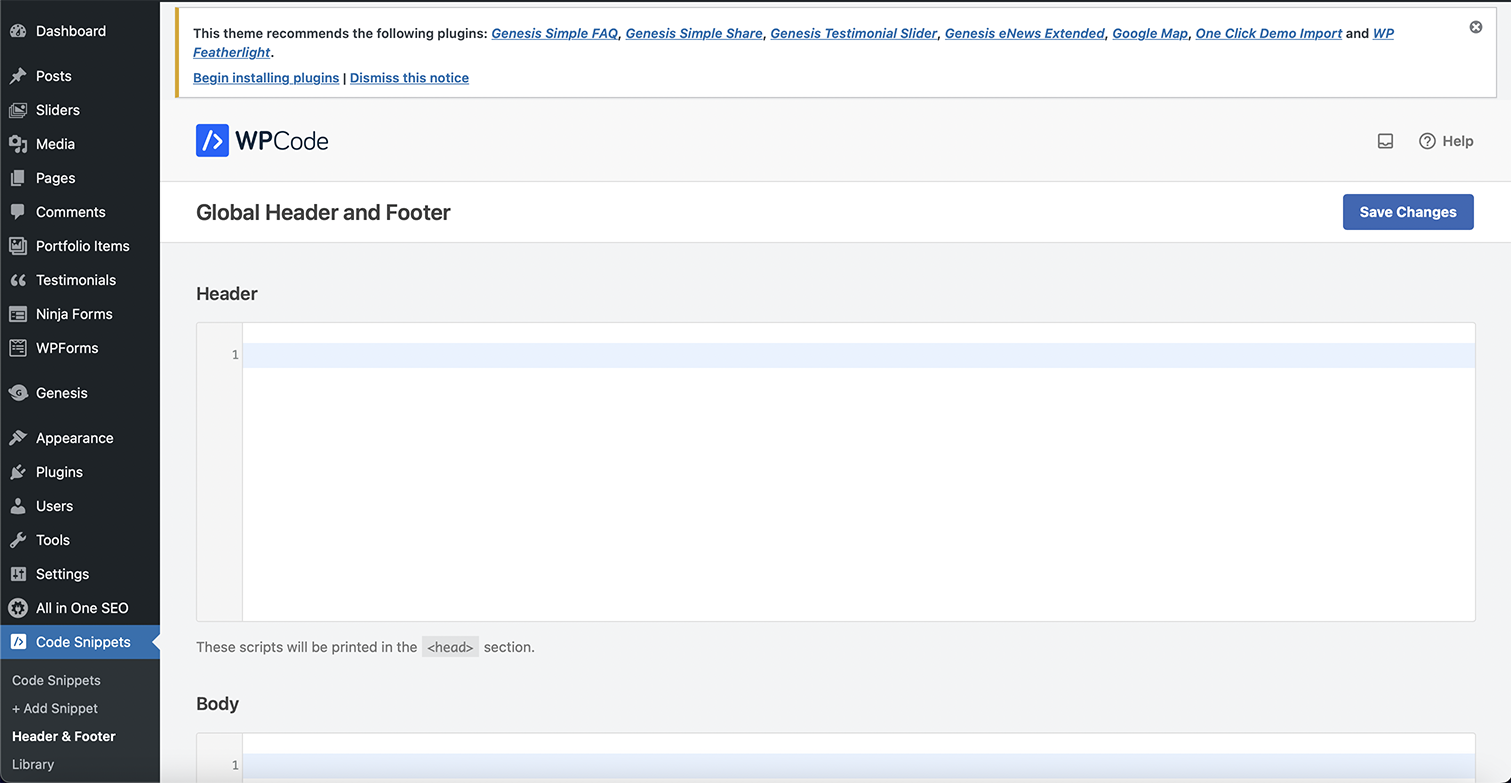
- Step 5: Select Header and Footer from the dropdown menu and paste your code into the Header section.
- Step 6: Click Save Changes.
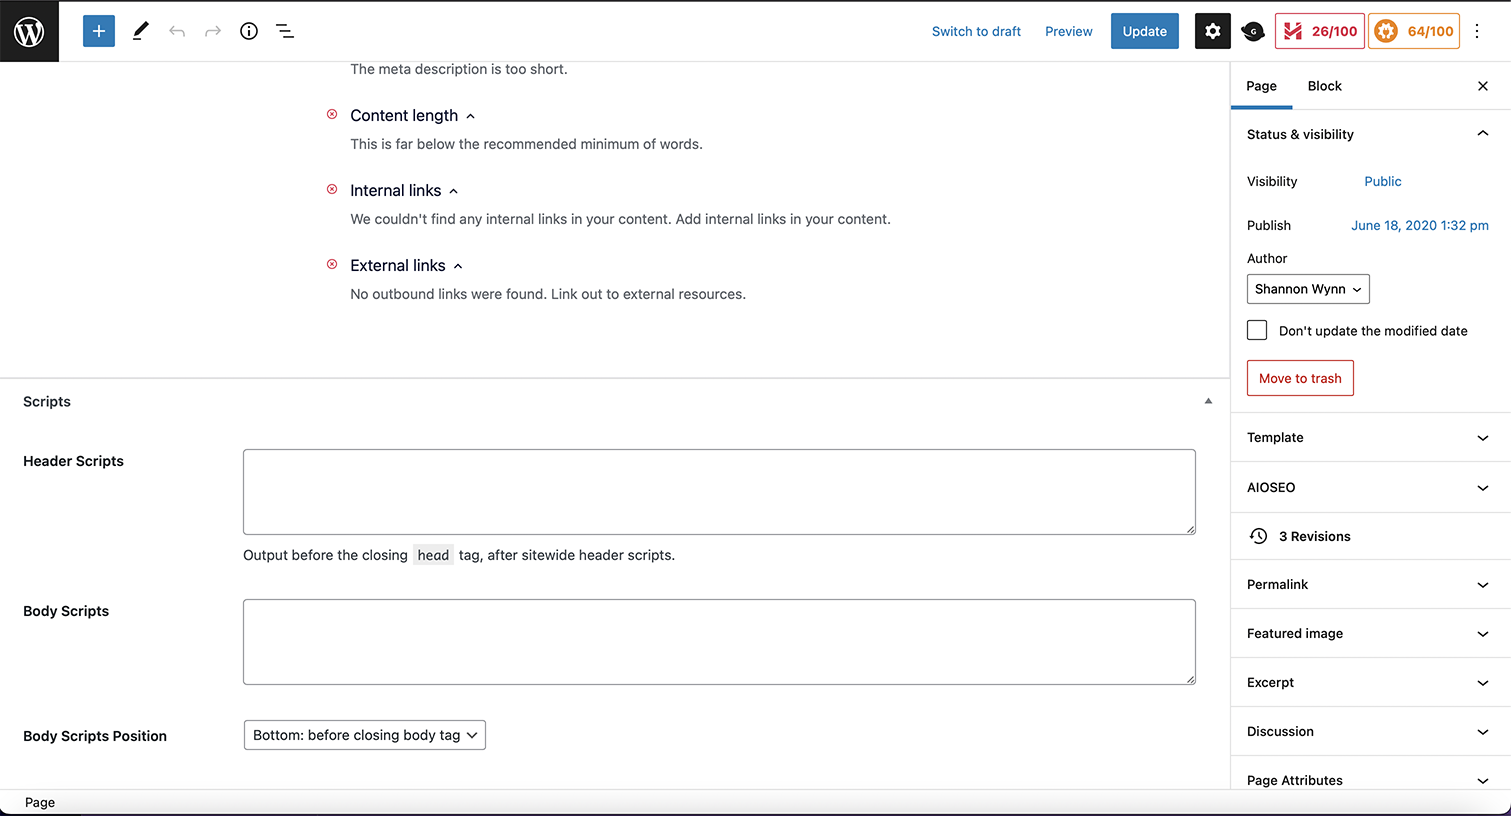
Optional Step: To add code to a specific page or post, select the page or post and scroll to the bottom. Add the appropriate Google Analytics code to the header section of that page. Click Update to save your changes. This step is not necessary when adding Google Analytics to WordPress.
If you’re comfortable working directly in your theme’s code, this is another option for adding your Google Analytics code. Keep in mind that you are directly modifying theme files, so if you change or update your theme, you will lose your Google Analytics code and will need to add it again every time you update or change the theme.
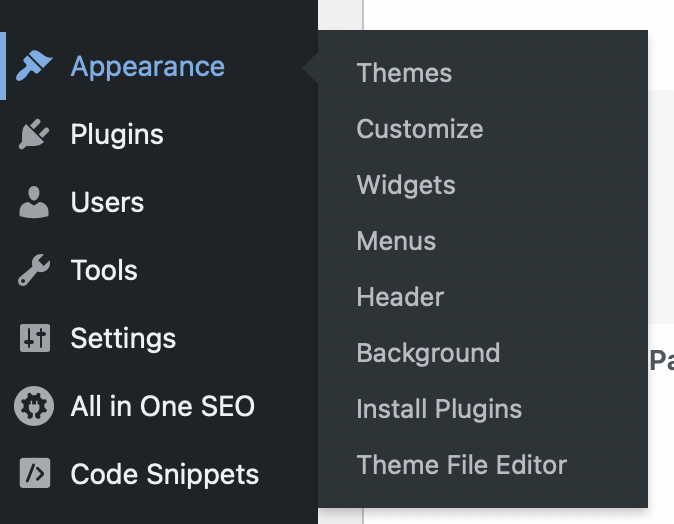
- Step 1: In your WordPress dashboard, go to Appearance > Theme File Editor.
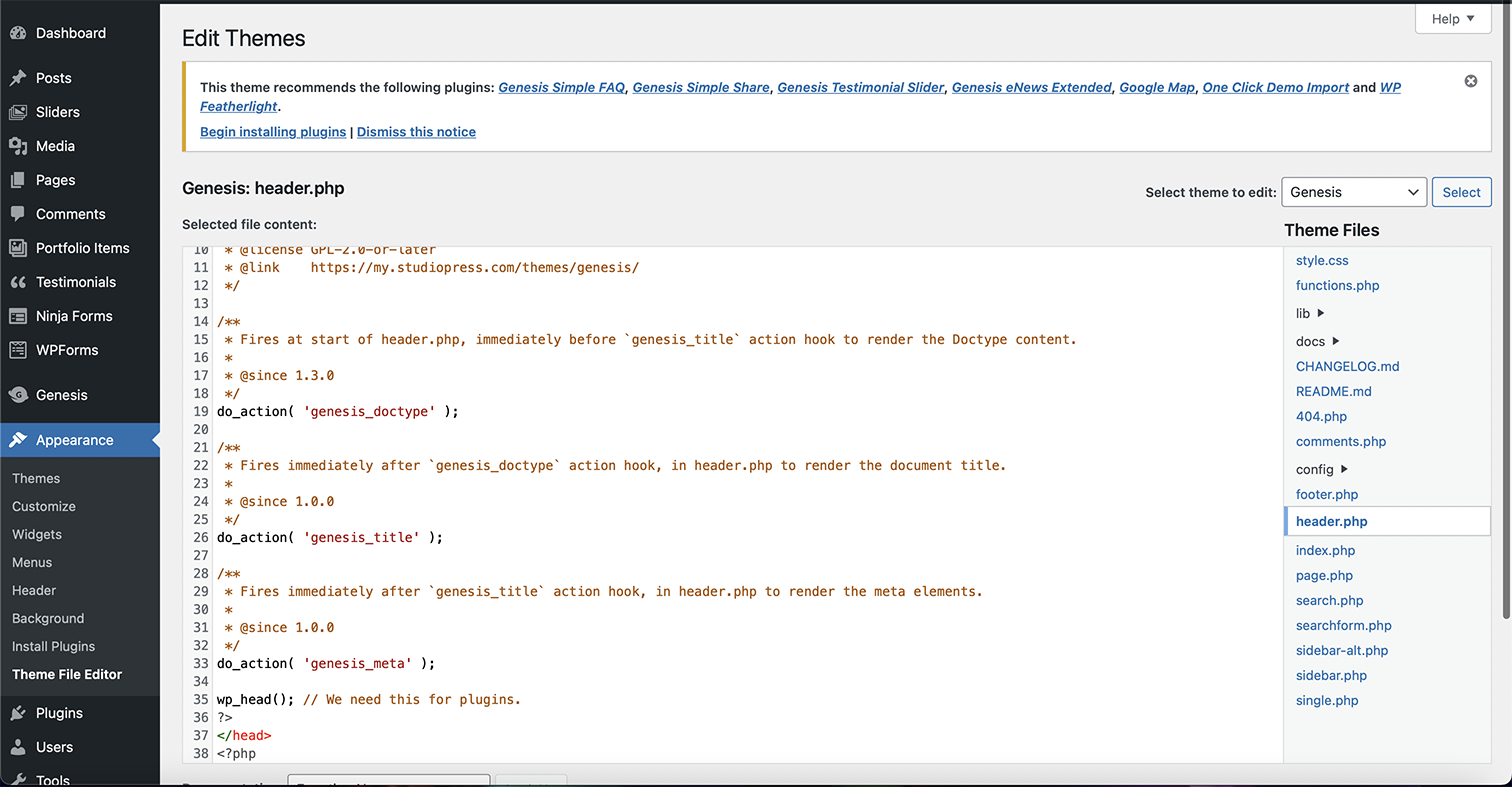
- Step 2: Choose your main theme and select header.php.
- Step 3: Copy and paste the code just before the closing </head> element.
- Step 4: Click Update File to save your changes.
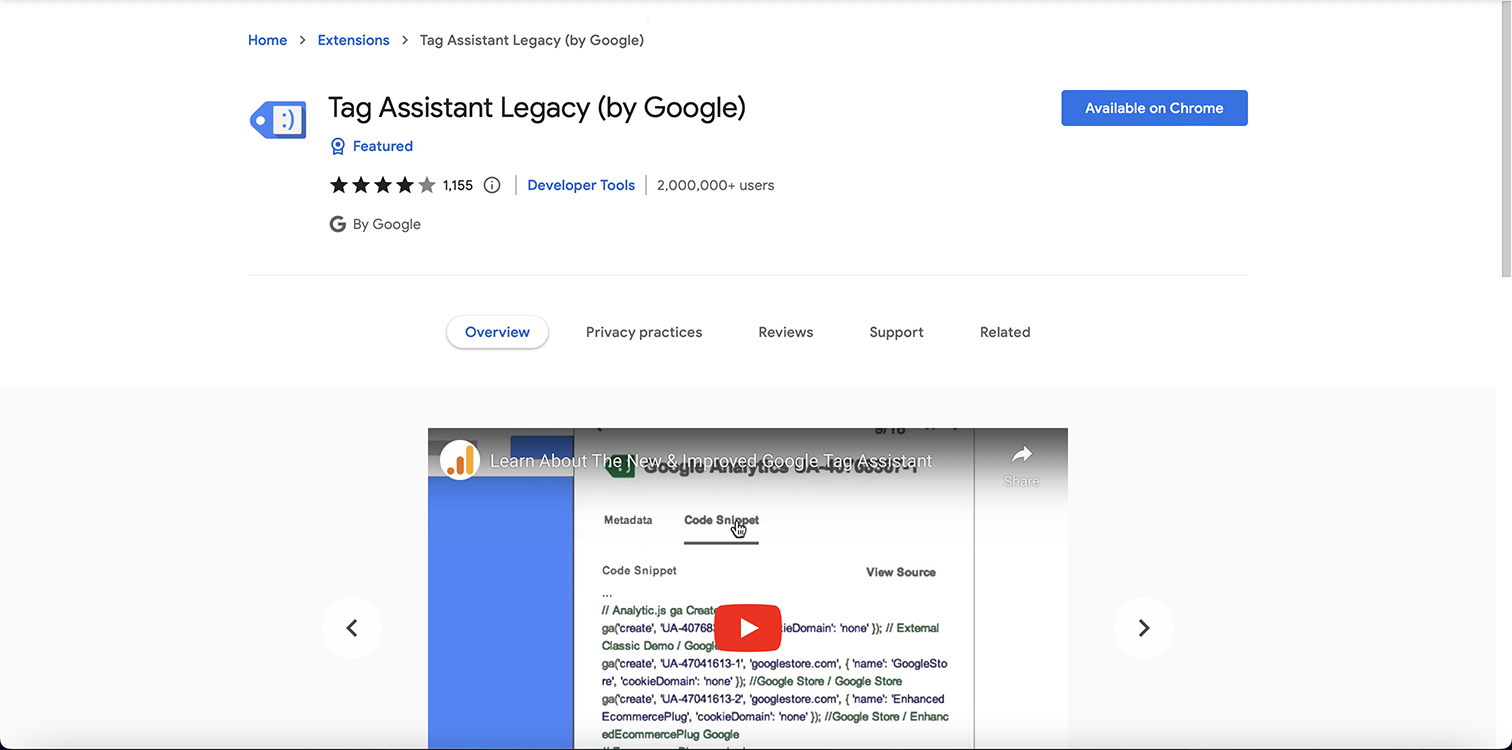
After you have installed your Google Analytics tracking code on your website, you can use the Tag Assistant (Legacy) Chrome Extension to verify whether your Google Analytics tag is installed and working correctly.
Simply install the Chrome extension in your browser, open the WordPress site where you’ve installed Google Analytics, and it will tell you which tags are present on the site and whether there are any errors.