Click to call button for your website - 10-step guide
Table of contents
How to create a click to call button in WordPress
Do you want to create a “Click to Call Now” button on your WordPress website?
Since over 50% of web traffic comes from mobile devices, you want to make it easy for potential and existing customers to call you with just one click.
In this tutorial, we will show you exactly how to add a “Click to Call” button to your WordPress website.
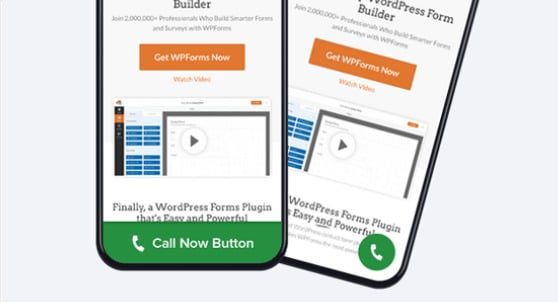
How to create a call now button
The easiest way to create a call now button is by using the WP Call Button plugin. This simplifies the process of creating a clickable phone number button without the need for coding.
Since the call button appears at the bottom of the screen, it acts as a call-to-action button, helping you receive more inquiries.
How to add a click to call now button in WordPres
Do you want to make a clickable phone number button in WordPress? It’s super easy with the (free) WP Call Button plugin.
Just follow these steps:
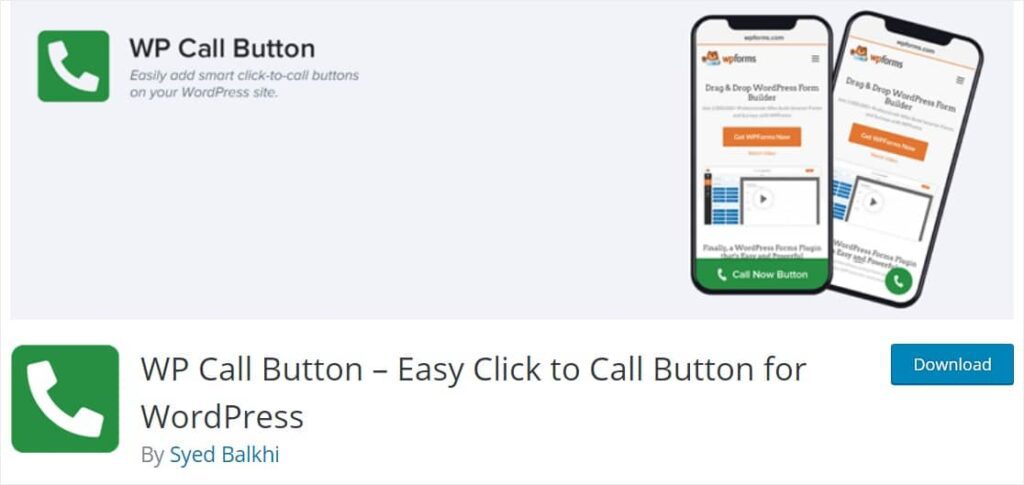
Step 1. Install the free WP Call Button plugin
Click here to download the WP Call Button plugin from WordPress.org.
Step 2. Find the WP Call Button plugin settings
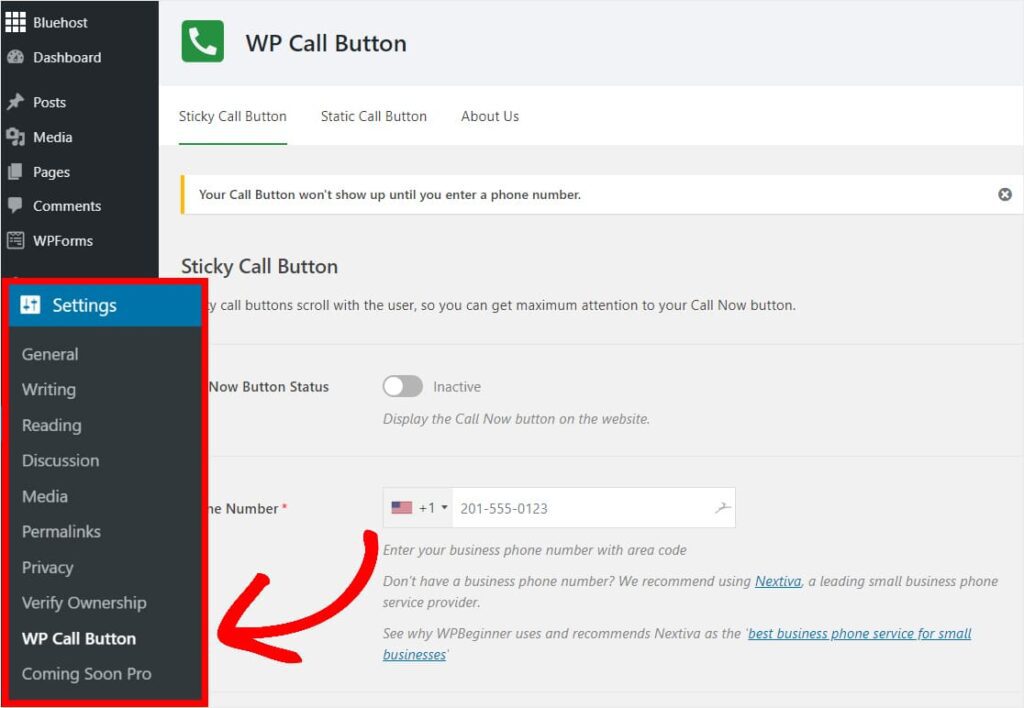
Once you’ve activated the plugin on your WordPress site, you’ll want to configure the settings to your liking.
To find the settings area for the WP Call Button, go to the left panel in your WordPress dashboard and click on “Settings » WP Call Button.“
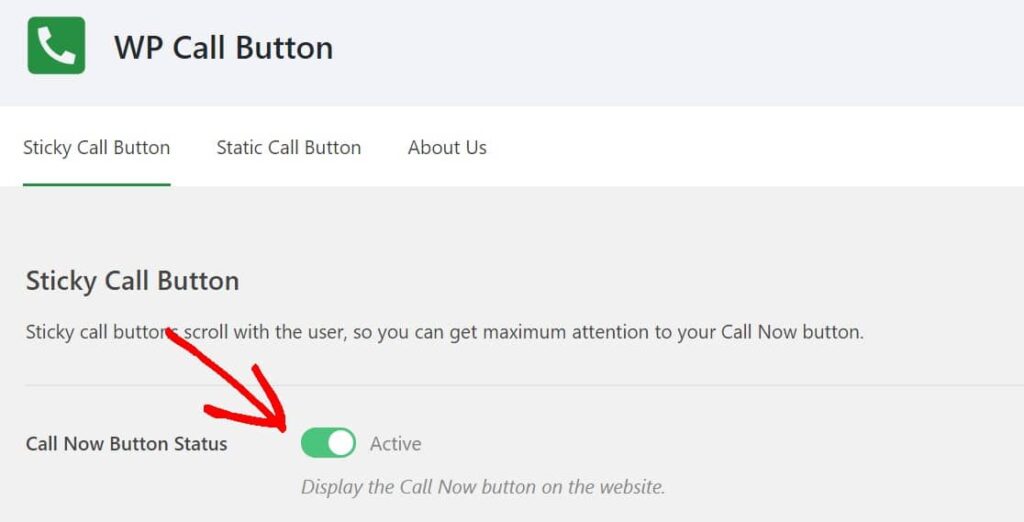
This settings page will open to the “Sticky Call Button” page.
This type of button appears at the bottom of the user’s screen and moves up and down as they scroll, ensuring it’s always visible. It’s the most popular type of “Click to Call” button because it converts exceptionally well, similar to a website CTA button.
Step 3. Enter your business phone number
Now, enter your business phone number where you’d like to receive phone calls from your website visitors.

The WP Call Button plugin uses the smart field, which means you can select your country, and it will automatically add the country code in the correct format.
If you don’t have a business phone number, you can get one from Nextiva. You can control how you forward calls to locations, including mobile phones, not just landlines.
Step 4. Edit the button text

Next, you can change the text on the call button to say whatever you prefer. Just click on the text field where the default message “Call us” is, and you can edit it.
Editing the Click to Call button text will only work if you have a full-width button position (it’s the only one that displays text). We’ll talk about button positions in the next step.
Step 5. Choose the button position
Now, decide which call button position works best for your website. There are four options to choose from. However, full-width buttons tend to receive the most engagements and are the most effective in capturing potential online leads.

Step 6. Edit the button colour
Next, you’ll want to edit the colour of the click-to-call button. Try to use one of your business brand colours or a colour that matches your WordPress theme for small businesses.

Step 7. Choose button visibility
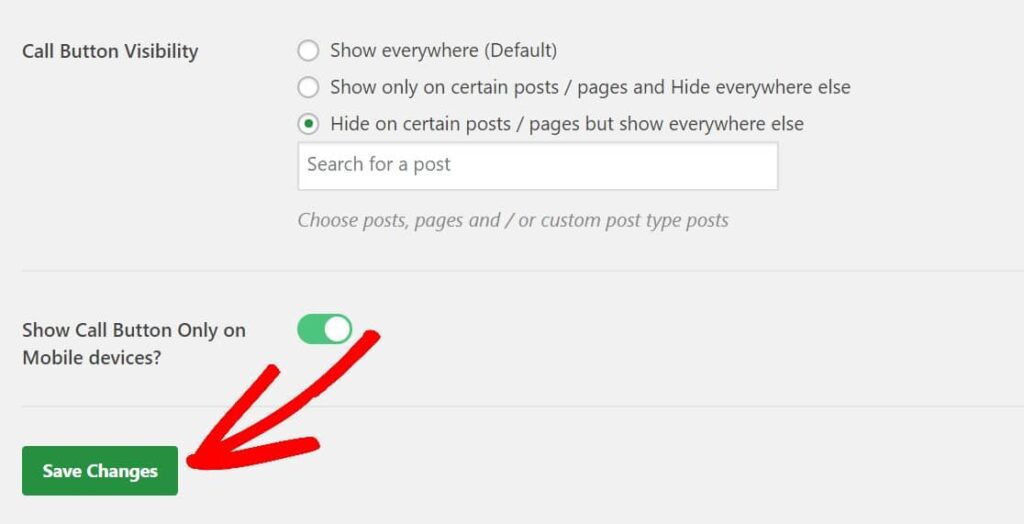
Decide where you want your click-to-call button to appear. It’s popular to display it everywhere on your site, so that’s the default option. However, you can also choose to show or hide it on specific pages or posts.

Step 8. Save your changes
Click the green “Save Changes” button in the bottom left corner of the settings page once everything in the settings is configured to your liking.
Step 9: Activate your button
Once you’ve successfully configured all the WP Call Button settings the way you want, scroll to the top of the page and click on the green toggle icon to enable the “Click to Call” button.
Now you can visit your website and see the “Click to Call” button in action.
Step 10: Set up a static Click to Call button (optional)
You also have the option to add a static Click to Call button to your contact page in WordPress, an info page, or any other post/page on your site.
The static Click to Call button will stay in place even when the user scrolls, so it’s always visible. It also displays a phone icon by default.
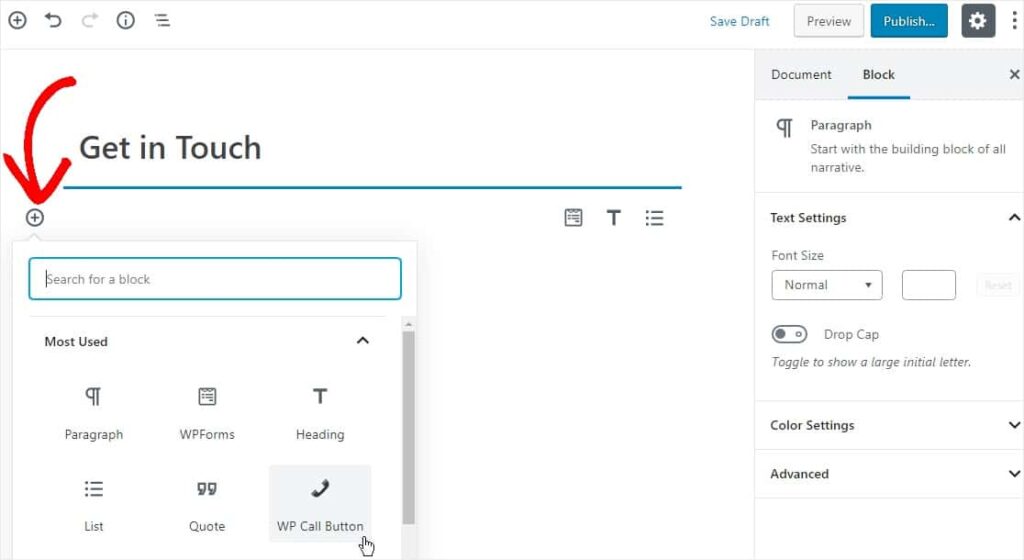
To add your static Click To Call button, create a new page or post in WordPress and click on the plus icon. Here, you’ll select the WP Call Button block.
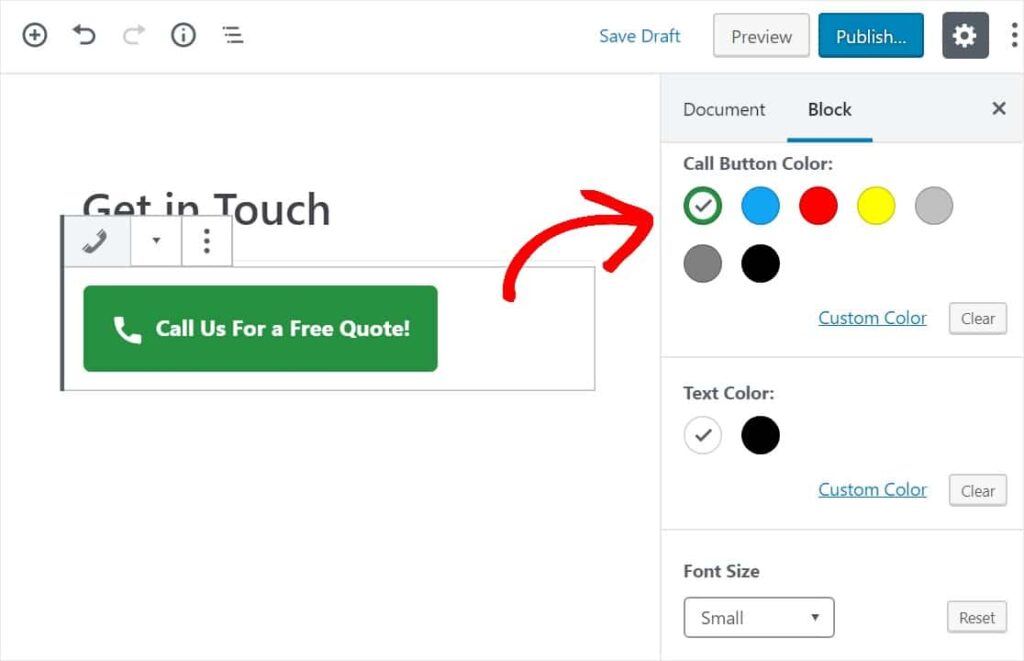
Your button can be fully customised. In the block editor on the right, you can change the font size and the background colour of the static button and its text.
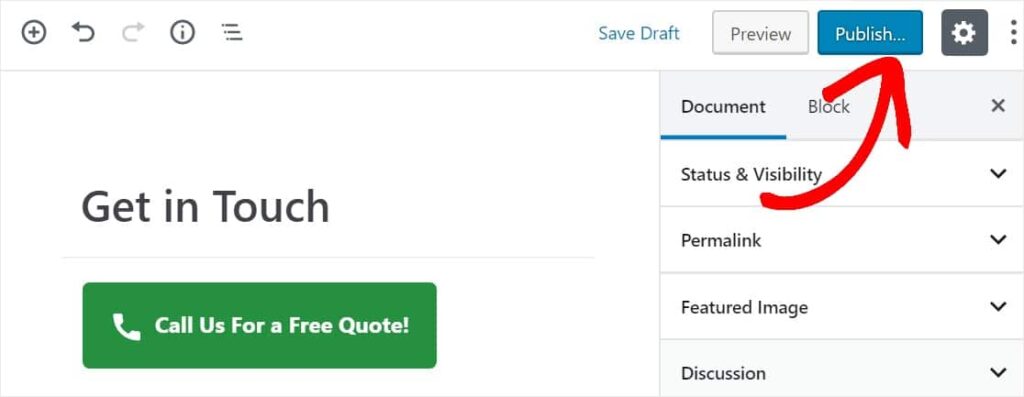
Then, select the blue Publish button in the upper right corner to make your page or post live. Afterward, the static button will appear on your website.
After reading this, you’ll likely understand why we recommend using WP Call Button to add a Call Now button to your website. It’s undoubtedly the easiest and most powerful WordPress Click To Call button plugin on the market.
And the coolest part about this fantastic plugin is that it’s 100% free.
Additionally, it works with Google Analytics if you use the MonsterInsights plugin. It automatically tracks how many people click on your Click To Call button, so you can relax and focus on making more money online.
Still curious about the benefits of creating a Click to Call button? Here are a few questions people ask us about this plugin.
If you found this guide helpful, check out how to install an SSL certificate to secure your website.

